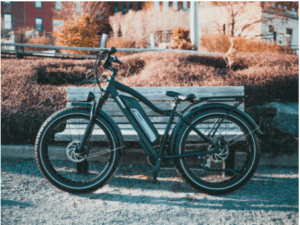
How do I convert a bicycle to an Electric Bike ?

Are you tired of pedaling your bicycle? Maybe you are looking for an e-bike replacement? A brand new e-bikes can be an expensive investment. If that is not your primary expense now, how about learning to convert a bicycle into an electric bike? You can do that by using an electric bike conversion kit.
Is the e-bike conversion difficult?
The process will require some time, effort, instructions and a few tools – but it is not complicated. It would be great to know the basics of bicycle maintenance as that could speed up the process. But don’t worry if you don’t because it’s still possible to do the conversion.
If you are not used to maintaining a bicycle and are concerned that it might be a bit too tricky for you then contact your local bicycle shop and they should be able to do the conversion for you (or recommend a maintenance service that can).
Let’s take a look at the details on how to use an electric bike kit to convert a bicycle into an e-bike!
There are lots of YouTube videos that show the technicalities of converting your existing bicycle to an electric bicycle. Here is an example below.
In general – here are the steps you’ll need to take before and during the conversion.
Step 1: Get Everything Ready
The essential things that you will need for the process include:
- A bicycle that you want to convert
- An electric bike kit
Is my bike suitable for electric bicycle conversion?
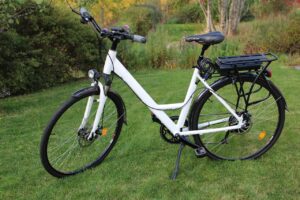
Many types of bicycles (ranging from traditional to mountain bikes) can be converted to e-bikes.

The first thing you will need to do is decide if the existing bicycle that you have is suitable for e-bike conversion. If you have a bike that you like which is a standard shape with a normal frame– then there should be plenty of kits available to allow you to convert your bike to an electric bicycle.
The bicycle should be in good condition. The primary consideration is the frame, which should be sturdy. It would be ideal if you could use a steel and heavy frame. These frames are often found in mountain bikes.
Take a look at the bicycle and decide if it needs repainting. If you notice cracks or chips, a repaint shouldn’t cost a fortune, especially if you do it yourself. It is an excellent way to ensure your electric bike will look great once you are done!
If your bicycle has any customisation or is a little unusual, make sure you read the kit details carefully before purchase – or make sure the kit is returnable.
What e-bike conversion kit should I purchase?
There are many e-bike conversion kits available to the Australian market. They can be purchased an a local bicycle shop or from an online store. With so many options – which one should you choose?
The main thing to determine is what kind of usage will the electric bicycle have. If you are an occasional pleasure rider, then a lower powered and less expensive conversion kit is likely to be suitable. If you plan on riding regularly, then you might want to consider what wattage motor is better for you.
A standard electric bike kit should include a chosen motor, a throttle, controller, battery, and an on/off button
The actual components will depend on the package you select. In theory, all conversion kits available on the market should work.
Here are several tips that could help you pick a high-quality kit:
- Make sure all the required components are provided. It would be great if the kit comes with all the necessary tools so that you don’t have to use additional ones.
- The product should come with detailed instructions. While our general guide will help, specific directions for your kit are always the best to follow.
- Consider the motor power. Depending on where you will ride your e-bike and the laws in your state, the motor wattage you purchase will vary. Over 500W will make it easier than a 200W motor to ensure you can tackle inclines and hills – but this may not be legal in your state for road riding. City riding may require less power than suburban riding.
Finally, it is only reasonable to consider the budget. The good news is that electric bike conversion kits are more affordable than purchasing an e-bike. The best tip we could give you is to stick to reliable manufacturers and original products and avoid second-hand electric bike kits.
Step 2: Start by Installing the Bike Motor
It would be best if you work on your bicycle outside because you will need space for the conversion process. You can consider doing it in a garage or workshop, but make sure there is enough room for manoeuvring.
Before we start, take a look at this diagram:
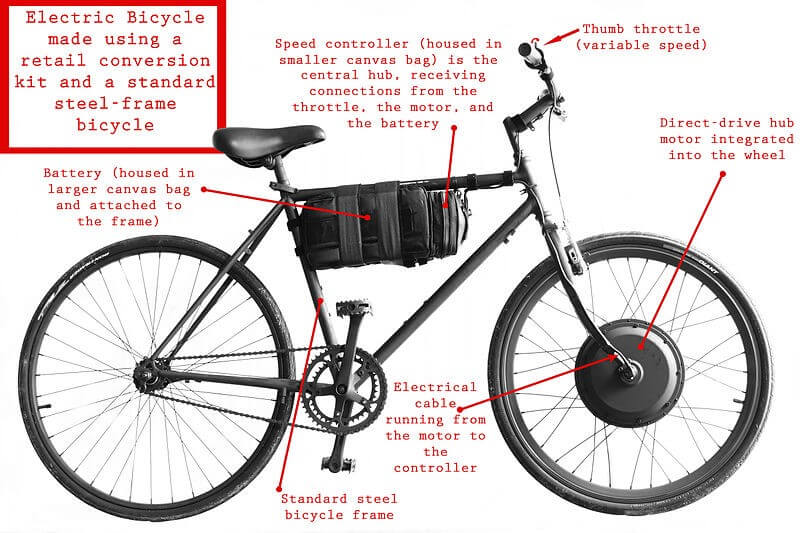
It will help you to understand the placement of the components. Each kit is slightly different which is why you need to consult the instructions for your individual electric bike conversion kit.
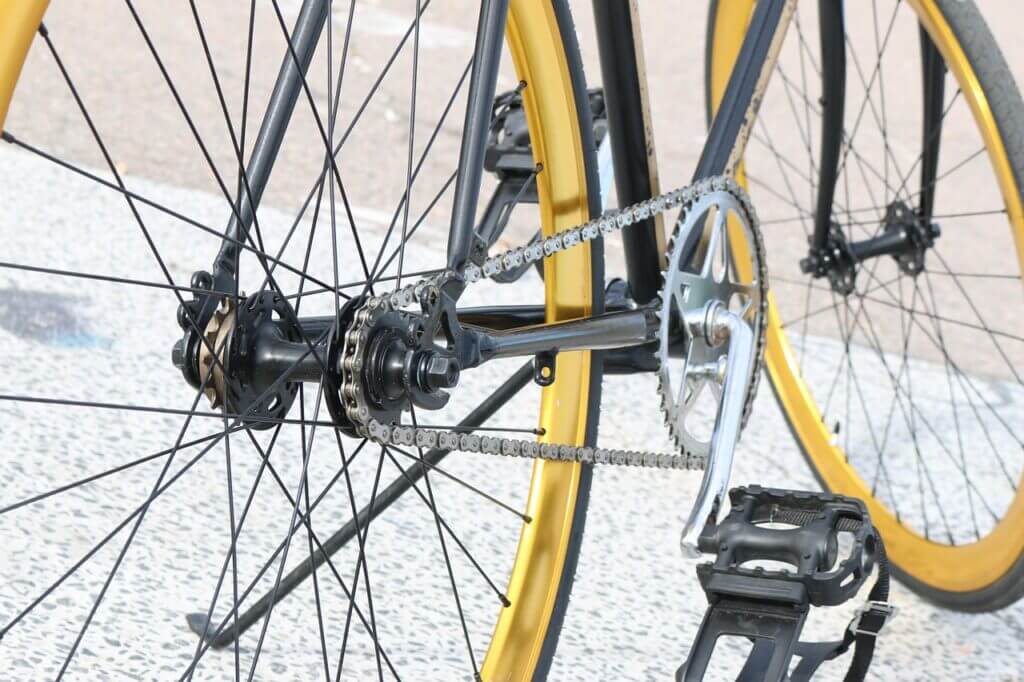
The first step is to install the motor. You will probably deal with one of the following three types:
- Direct drive – this unit will spin the wheel. The main benefit of this motor is the high speeds it can reach. However, the power comes at the cost of weight, so the motor is heavy.
- Hub motor – you integrate this into the wheel. Depending on the unit, the motor could go on rear or front wheels. These motors are fairly light and are considered an affordable but decent option.
- Mid-drive – you place the motor to drive the chain. It is powerful and efficient, but it is also the priciest and noisiest motor out there.
The instructions for your electric bike kit should tell you more details about installing your particualr motor.
Step 3: Place the bike Switches
A throttle-only bike allows free ride without pedalling. Whether or not your e-bike will have a throttle depends on the kit you select. If you equip your bike with a throttle, make sure to check your state’s regulations. Some states allow a motor wattage up to 250W if you have a pedal-assisted system. That limit is reduced to 200W if the bike doesn’t have this system. Make sure to check the exact regulations applicable to your location when deciding whether you need a pedal-assisted kit.
The thumb throttle lever should be positioned near the brake/gear lever. As for the on and off switch, place it on the opposite side.
If you want to install the switches, you will probably have to take off the handlebar grips. A convenient way to do this is to open them by using a screwdriver and then use water and soap to pull them out gently. Keep in mind that you also need to remove the gear shifters you used previously.
Now, you can use zip-ties to connect the wires of the switches to the frame. This could be an additional piece of equipment, so make sure you have it available. Make sure everything works properly, and you can turn the handlebars effortlessly.
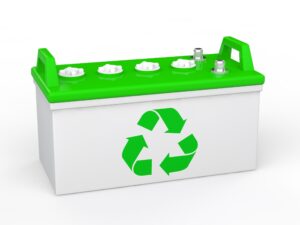
Step 4: Install the e-bike Battery Box
For the battery, you can choose between 24V, 36V, and 48V. The higher you go, the longer the battery will last. However, more powerful batteries also tend to be heavier, so think about your preferences.
Apart from the strength, make sure to consider the room required for the battery. When choosing an electric bike conversion kit, the battery will come in the package. That is why you should read its characteristics and make sure you can fit the battery box on your bike.
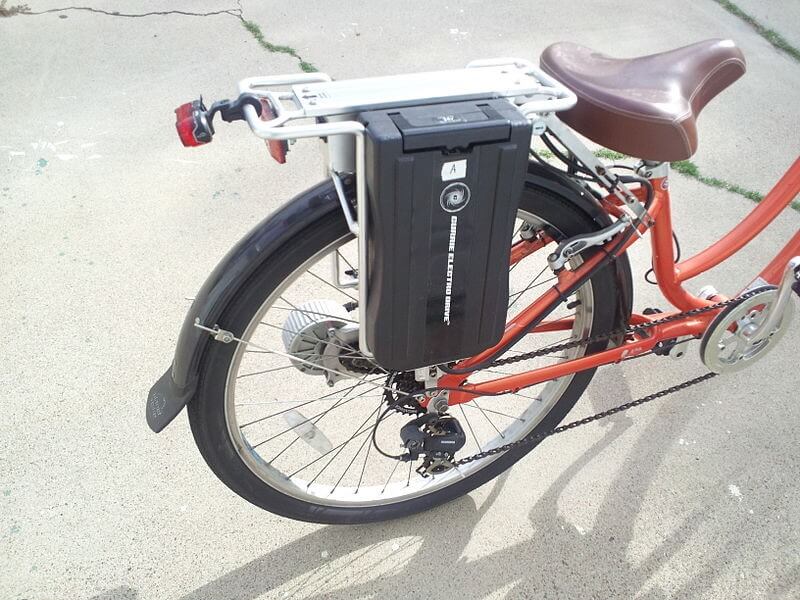
On our specific kit, we had a battery that’s supposed to be placed on the bike rack in the rear. It was a fairly easy job since it involved drilling the holes after marking suitable positions.
You will also need to mount the controller. Think about the best ways to attach the wires and connect the required components. You will need a couple of controller holes and a bit of creativity to find the best way of connecting everything.
Here is an example of the battery mount:
Follow the instructions for the electric bike kit you purchased, and the installation should be relatively easy.
Step 5: Final Touches for your new e-bike
It is time to use an insulator to protect the box. The easiest way could be to use some foam, but it is up to you. The idea is to protect the battery with some padding while ensuring the wiring is properly connected. Make sure that no connections and bare wires sticking out of the box.
Are you ready to test your brand-new electric bike? Get it out on the road to try it. Make sure to test it in the low-traffic neighbourhood first. Go for a couple of laps around your house to ensure everything works right. Nothing should compromise the performance of the bike and your comfort while riding.
An electric bike conversion kit is easier to install than you think. We hope that this article helped to provide some general guidelines. However, since conversion kits and components can largely vary, it is hard to provide a universal manual. That is why we encourage you to keep in mind these guidelines but also follow the instructions provided with your product. The good news is that the entire process shouldn’t take more than an hour or two. And you will enjoy riding an electric bike a long time after that!